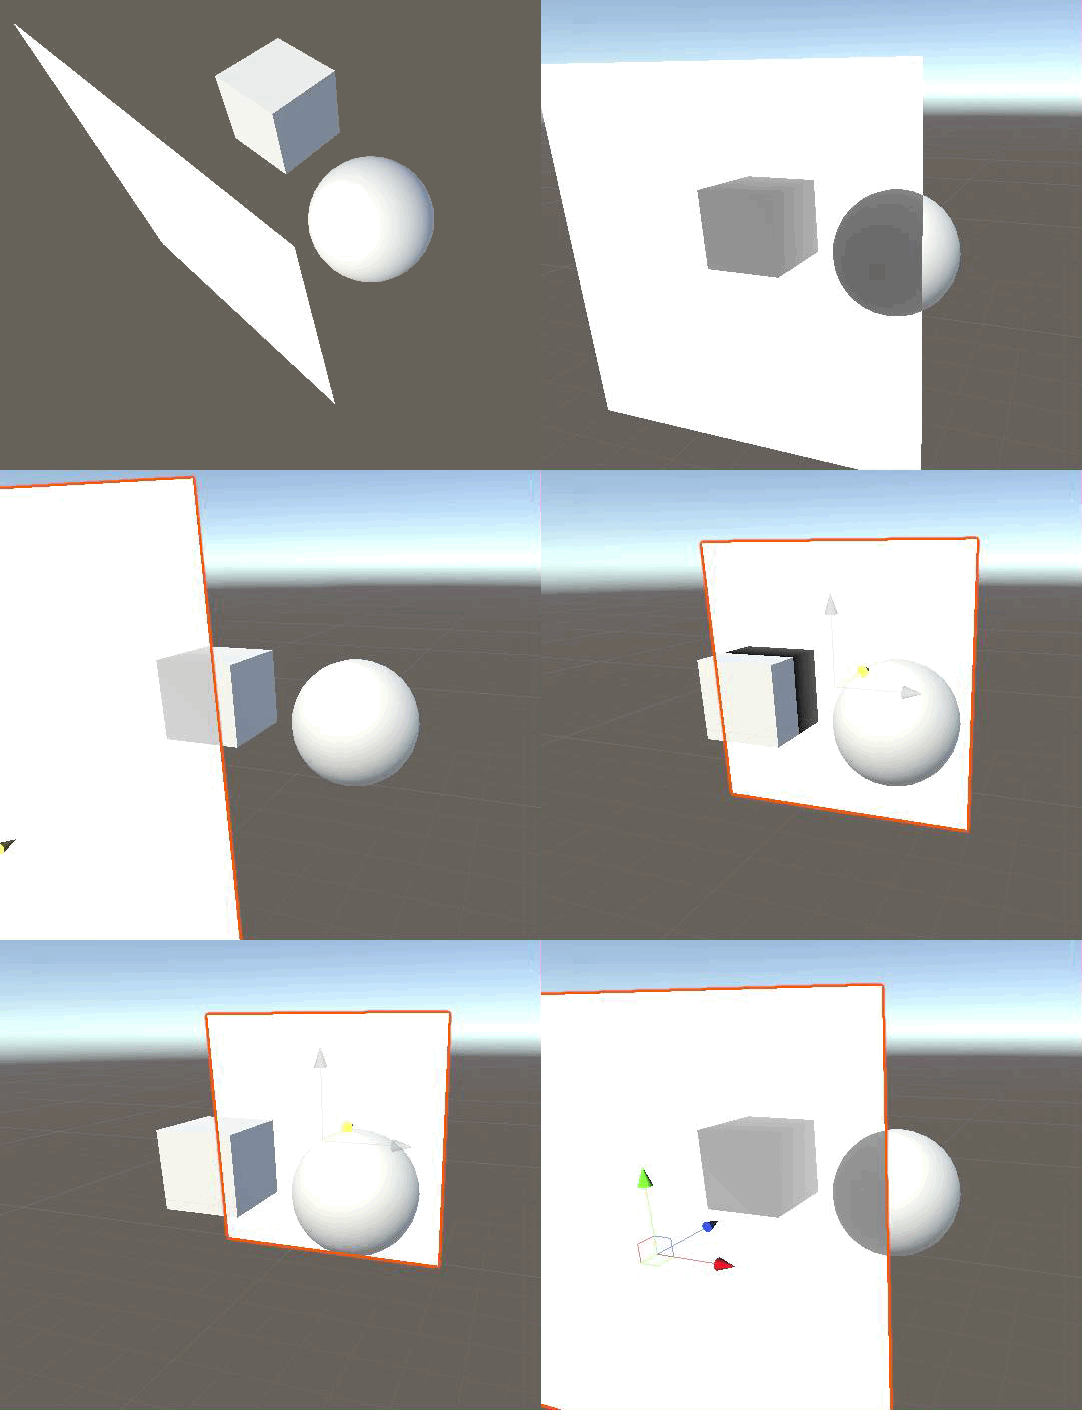
Depth Fadeで背面にある物体との距離を取得する
Depth Fadeと呼ばれている手法について紹介します。
Unity Products:Amplify Shader Editor/Depth Fade - Amplify Creations Wiki
[https://wiki.unrealengine.com/Visual_Effects:Lesson_02:Using_Depth_Fade:title]
こちらのチュートリアルに大変お世話になりました。ありがとうございます! catlikecoding.com
どんな効果が得られるか?
ある表面と、その裏側にある物体の距離が取得できます。

この手法は水面の表現などに便利です。
上のgifだと、面に近いものほど黒くなり、遠ざかると白くなっています。 これは背面の物体との距離が取得出来ているという事ですね。
実装
depth textureを使うため、カメラの設定をする必要があります。
C♯
using System.Collections;
using System.Collections.Generic;
using UnityEngine;

public class Main : MonoBehaviour
{
    void Start()
    {
        Camera.main.depthTextureMode |= DepthTextureMode.Depth;
    }
}
vertex shader
次にshaderの方を見ていきます。 また、このshaderが適用されるモデルは 裏面にある物体よりも後に描画されるようにする必要があります。 そのため、RenderQueue などで適切な値を設定して下さい。
struct v2f
{
    float2 uv : TEXCOORD0;
    float4 vertex : SV_POSITION;
    float4 screenPos : TEXCOORD1; // screen座標を得るために追加
};

v2f vert (appdata v)
{
    v2f o;
    o.vertex = UnityObjectToClipPos(v.vertex);
    o.uv = TRANSFORM_TEX(v.uv, _MainTex);

    o.screenPos = ComputeScreenPos(o.vertex);
    return o;
}
ComputeScreenPos()
UnityCG.cgincで定義されている関数です。 頂点shaderでscreen座標を計算して渡すようにします。
inline float4 ComputeNonStereoScreenPos(float4 pos) {
    float4 o = pos * 0.5f;
    o.xy = float2(o.x, o.y*_ProjectionParams.x) + o.w;
    o.zw = pos.zw;
    return o;
}

inline float4 ComputeScreenPos(float4 pos) {
    float4 o = ComputeNonStereoScreenPos(pos);
#if defined(UNITY_SINGLE_PASS_STEREO)
    o.xy = TransformStereoScreenSpaceTex(o.xy, pos.w);
#endif
    return o;
}
この関数を通す事で、xy座標が 0 〜 o.screenPos.w の値を取るように変換されます。zwはそのまま。
こちらのblogで詳しく説明されています。
【Unity】【シェーダ】スクリーンに対してテクスチャをマッピングする方法を完全解説する - LIGHT11
fragment shader
float GetDepthDistance (float4 screenPos, float maxDistance)
{
    // xy座標を 0 〜 1の値に変換
    float2 uv = screenPos.xy / screenPos.w;

    // platformによる差異を吸収
    #if UNITY_UV_STARTS_AT_TOP
    if (_CameraDepthTexture_TexelSize.y < 0)
    {
        uv.y = 1 - uv.y;
    }
    #endif

    // depth textureから取得した値を、cameraからの距離に変換
    float backgroundDepth = LinearEyeDepth(SAMPLE_DEPTH_TEXTURE(_CameraDepthTexture, uv));
    // near, farのplatform間の差異を吸収
    float surfaceDepth = UNITY_Z_0_FAR_FROM_CLIPSPACE(screenPos.z);
    float depthDifference = backgroundDepth - surfaceDepth;
    return depthDifference / maxDistance;
}

fixed4 frag (v2f i) : SV_Target
{
    fixed4 col = fixed4(1, 1, 1, 1);
    col.xyz = GetDepthDistance(i.screenPos, 20);
    return col;
}
UNITY_UV_STARTS_AT_TOP
プラットフォームによってuv座標の扱いが上下反転するので、それを知るためのフラグです。 プラットフォーム特有のレンダリングの違い - Unity マニュアル
LinearEyeDepth
UnityCG.cgincでの定義はこちら。
// Z buffer to linear depth()
inline float LinearEyeDepth( float z )
{
    return 1.0 / (_ZBufferParams.z * z + _ZBufferParams.w);
}
depth textureから取得した値を、cameraからの距離に変換する関数です。
UNITY_Z_0_FAR_FROM_CLIPSPACE
処理としては
#if defined(UNITY_REVERSED_Z)
    #if UNITY_REVERSED_Z == 1
        //D3d with reversed Z => z clip range is [near, 0] -> remapping to [0, far]
        //max is required to protect ourselves from near plane not being correct/meaningfull in case of oblique matrices.
        #define UNITY_Z_0_FAR_FROM_CLIPSPACE(coord) max(((1.0-(coord)/_ProjectionParams.y)*_ProjectionParams.z),0)
    #else
        //GL with reversed z => z clip range is [near, -far] -> should remap in theory but dont do it in practice to save some perf (range is close enough)
        #define UNITY_Z_0_FAR_FROM_CLIPSPACE(coord) max(-(coord), 0)
    #endif
#elif UNITY_UV_STARTS_AT_TOP
    //D3d without reversed z => z clip range is [0, far] -> nothing to do
    #define UNITY_Z_0_FAR_FROM_CLIPSPACE(coord) (coord)
#else
    //Opengl => z clip range is [-near, far] -> should remap in theory but dont do it in practice to save some perf (range is close enough)
    #define UNITY_Z_0_FAR_FROM_CLIPSPACE(coord) (coord)
#endif
となっています。 near, farの値がplatformによって変わる問題を吸収するものですね。
SAMPLE_DEPTH_TEXTURE
その名の通り、depth textureから値を取得する関数です。 HLSLSupport.cgincにて定義されています。
// Depth texture sampling helpers.
// On most platforms you can just sample them, but some (e.g. PSP2) need special handling.
//
// SAMPLE_DEPTH_TEXTURE(sampler,uv): returns scalar depth
// SAMPLE_DEPTH_TEXTURE_PROJ(sampler,uv): projected sample
// SAMPLE_DEPTH_TEXTURE_LOD(sampler,uv): sample with LOD level

    // Sample depth, just the red component.
#   define SAMPLE_DEPTH_TEXTURE(sampler, uv) (tex2D(sampler, uv).r)
#   define SAMPLE_DEPTH_TEXTURE_PROJ(sampler, uv) (tex2Dproj(sampler, uv).r)
#   define SAMPLE_DEPTH_TEXTURE_LOD(sampler, uv) (tex2Dlod(sampler, uv).r)
    // Sample depth, all components.
#   define SAMPLE_RAW_DEPTH_TEXTURE(sampler, uv) (tex2D(sampler, uv))
#   define SAMPLE_RAW_DEPTH_TEXTURE_PROJ(sampler, uv) (tex2Dproj(sampler, uv))
#   define SAMPLE_RAW_DEPTH_TEXTURE_LOD(sampler, uv) (tex2Dlod(sampler, uv))
#   define SAMPLE_DEPTH_CUBE_TEXTURE(sampler, uv) (texCUBE(sampler, uv).r)
まとめ
背面にある物体までの距離が取れました。 ここから、
- その部分の色を変える
- その部分を歪ませる
などの処理で水面のような表現が可能になります。